![]()


|
|
|
|
PSTricks: How to BeginNow begin with the basic LaTeX input file called, say, example2.tex. I typically use PFE as the text editor, although discussion does not depend on that fact.
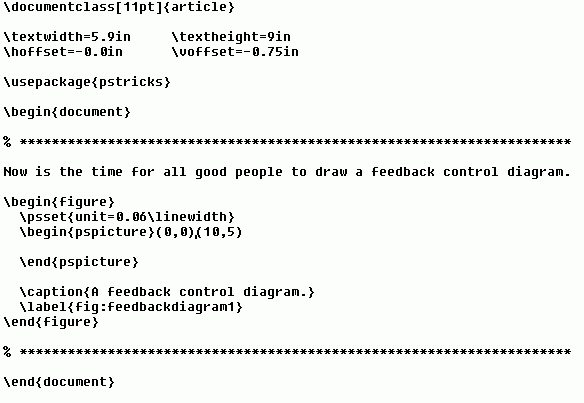
This sets up the article style for the document and has a bit of introductory text, followed by the floating figure. We want to build up the diagram piece-by-piece using pstricks. First we must add a reference to the pstricks package (or, pstcol, if we want color in the figures) to the preamble of the LaTeX input:
The MikTeX distribution does not appear to include the pstricks.sty file, so we have to retrieve it from CTAN in graphics/pstricks directory (according to the PSTricks web page). Once the new packages are downloaded, we continue... In the floating figure environment we arbitrarily assign one unit of length to be 0.06 times the linewidth (alternatives include 0.1 in or 10pt or...) and we define the "canvas" on which we will draw our figure to be 10 units wide by 5 units deep in area:
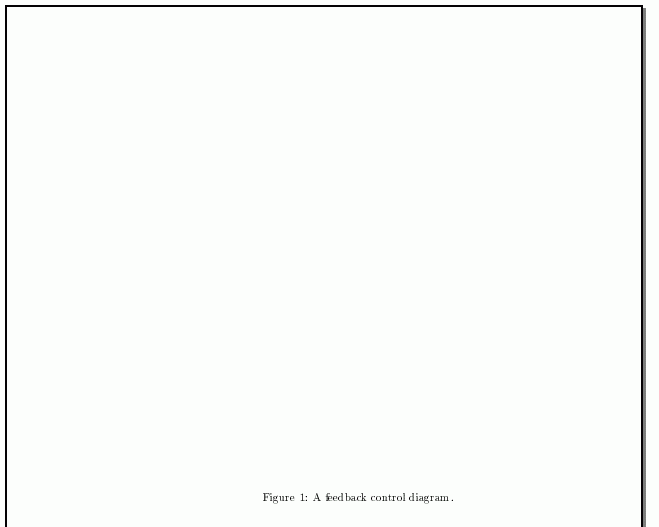
Process the input file (latex example2, see the LaTeX page) to see the output
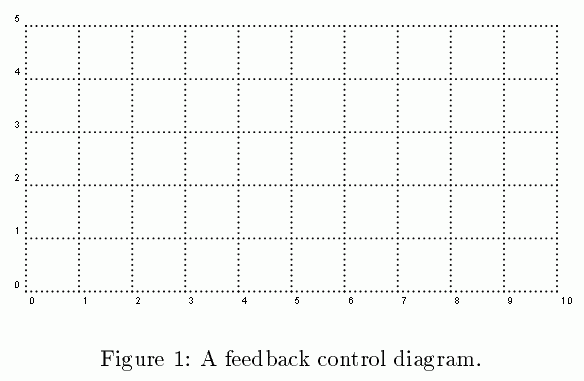
Note that we have reserved a square of blank space. In order to make drawing our figure easier, we want to temporarily include a grid as a background to the figure. To do this, we add a "macro" to the preamble to define such a grid "in pstricks-space." Type
and follow the \begin{pspicture} command in the floating figure with an invocation of our new macro:
as:
Process the input file again, shift the window focus to to the dvi previewer and note that our figure now looks like this:
|
|
This web site copyright © 1999-2000 by Robert A. Luke. All rights reserved. |